The central component of ClusterCockpit is the web- and api backend
cc-backend. We provide a demo setup that allows you to get an impression of
the web interface. If you just want to try the demo and you have a Linux OS you
can do so using the cc-backendrelease binary.
You find detailed instructions on how to setup the demo with the release binary here
If you have a different OS or want to build cc-backend yourself follow the
instructions below.
Prerequisites
To build cc-backend you need:
A go compiler, version 1.25 or newer. Most recent os
environments should have a package with a recent enough version. On MacOS we
recommend to use Homebrew to install on.
A node.js environment including the npm package manager.
A git revision control client.
For the demo shell script you need wget to download the example job archive
The startDemo script will download a tar file with 38MB (223MB on disk)!
Execute the demo start script:
./startDemo.sh
What follows is output from building cc-backend and downloading the job-archive
HTTP server listening at 127.0.0.1:8080...
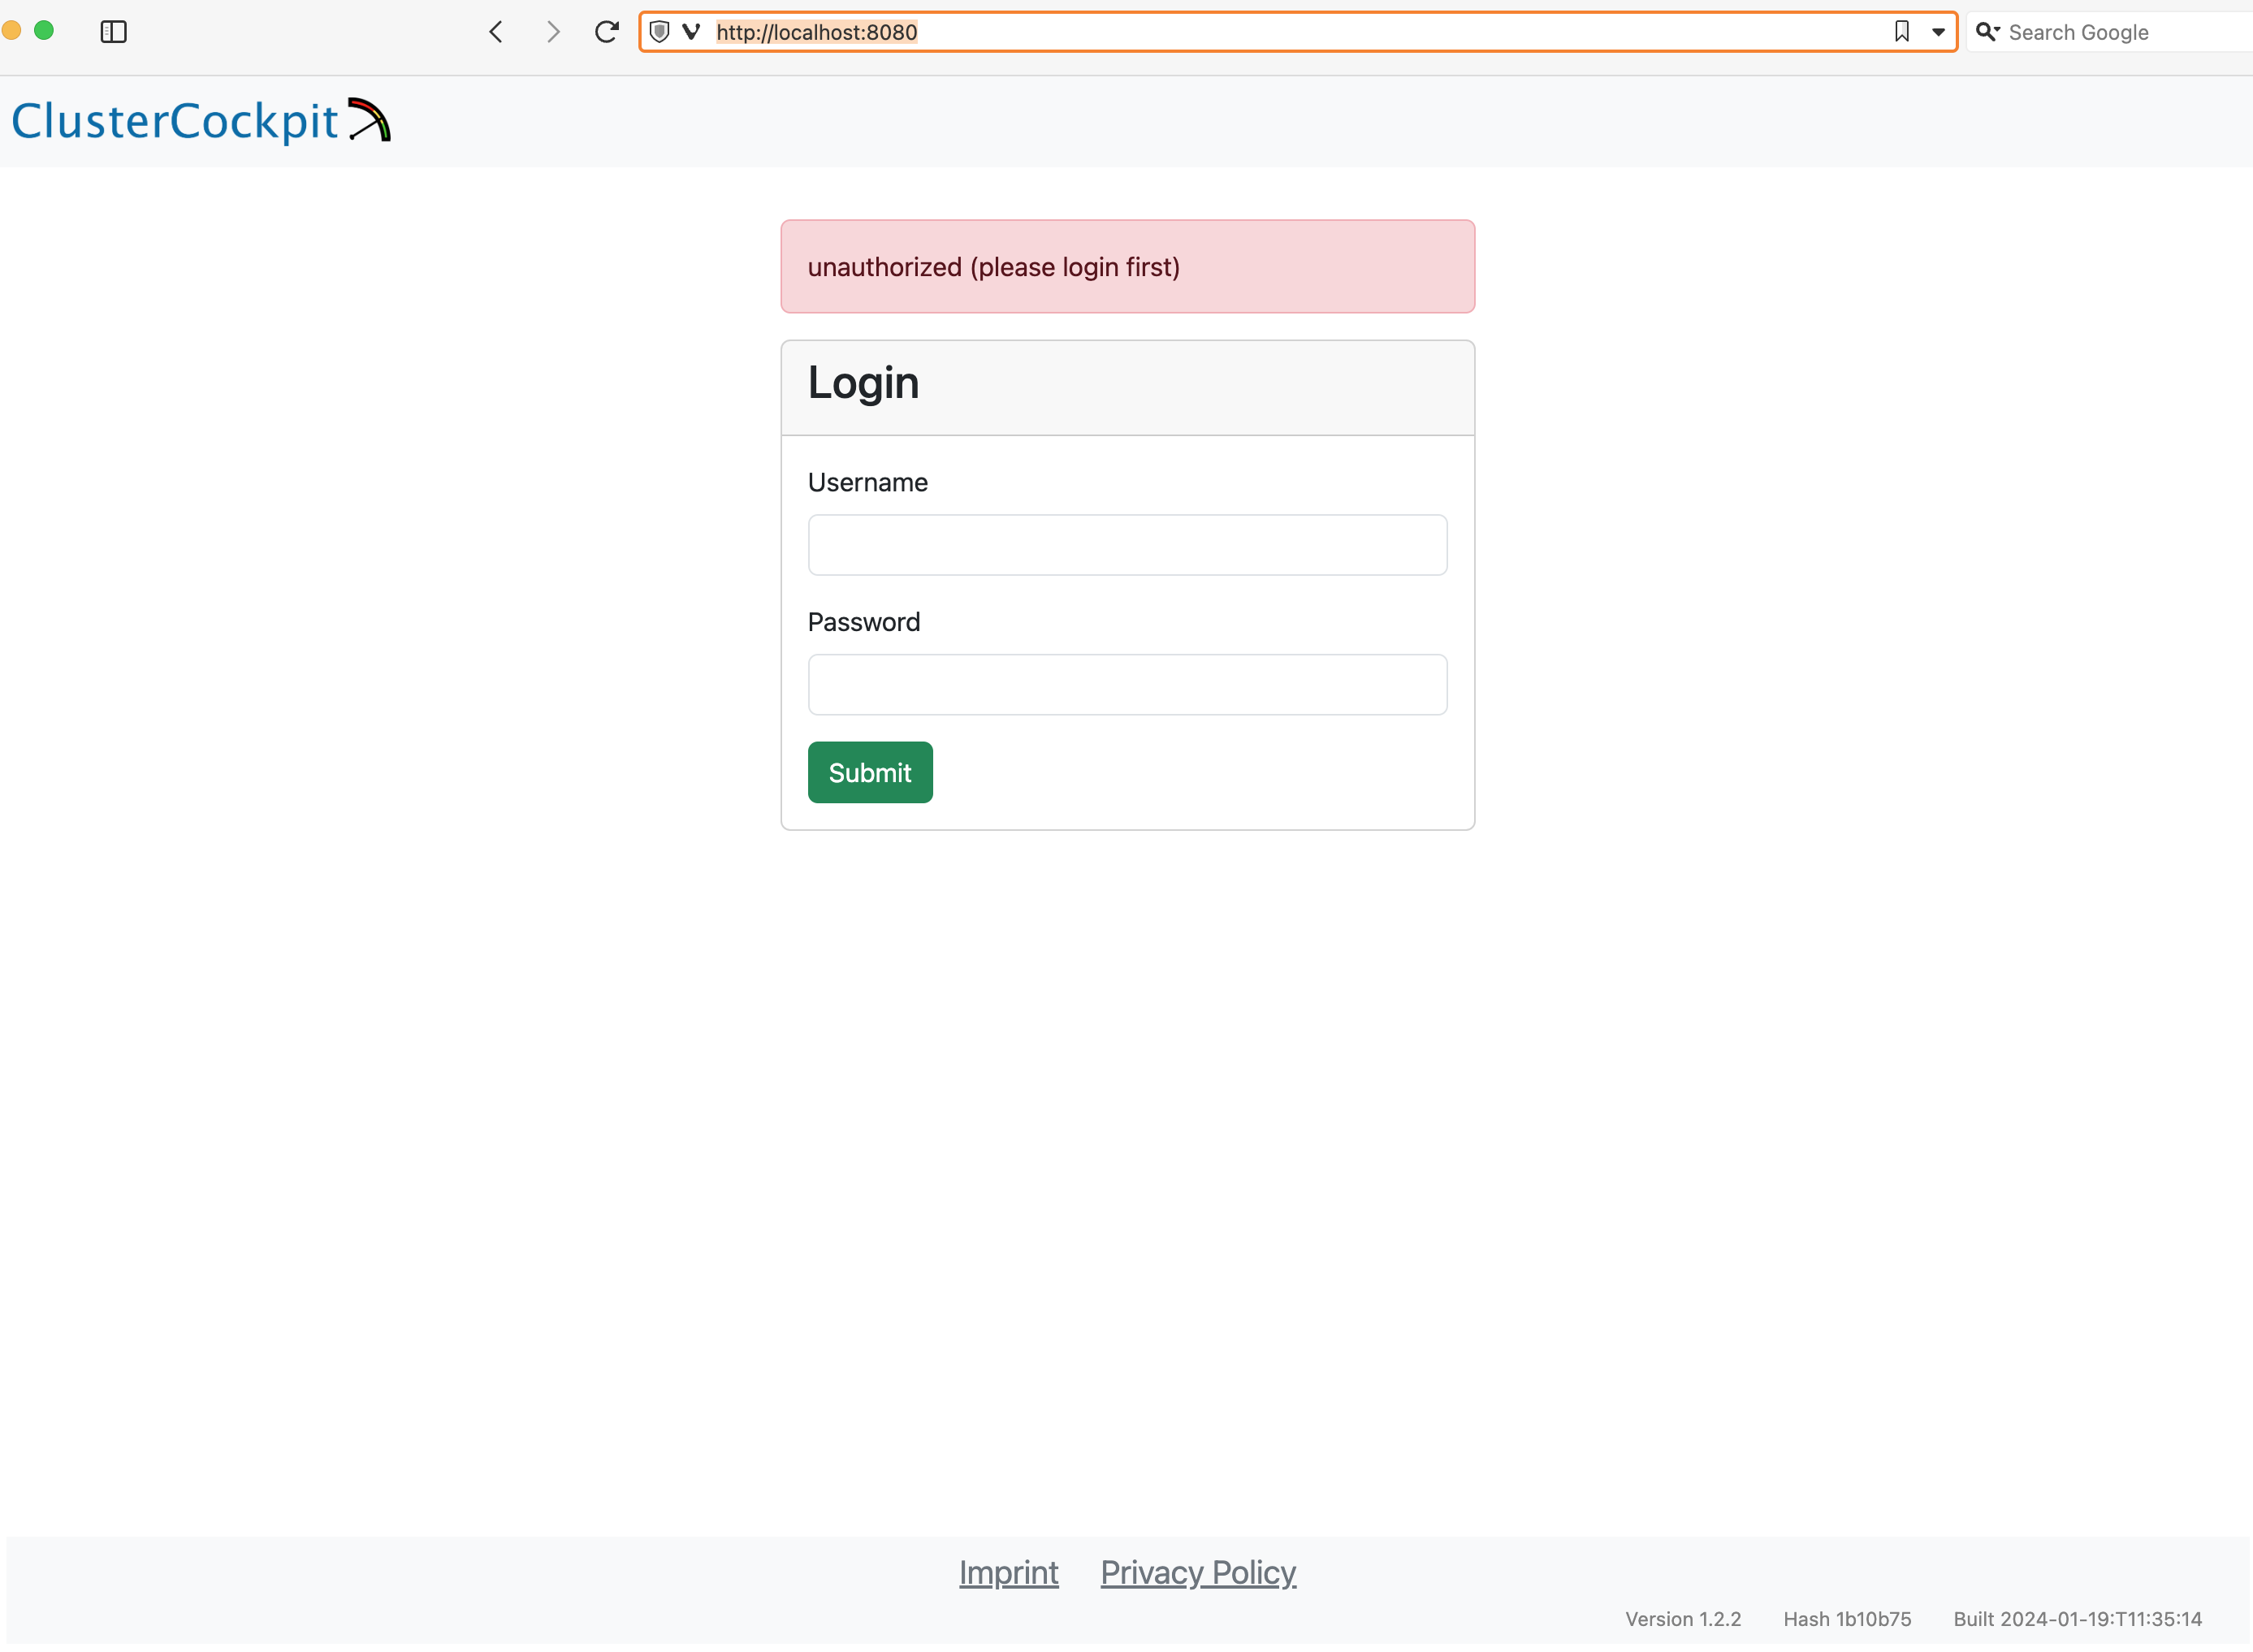
Open a web browser and access http://localhost:8080.
You should see the ClusterCockpit login page:
Enter demo for the Username and demo for the Password and press the Submit
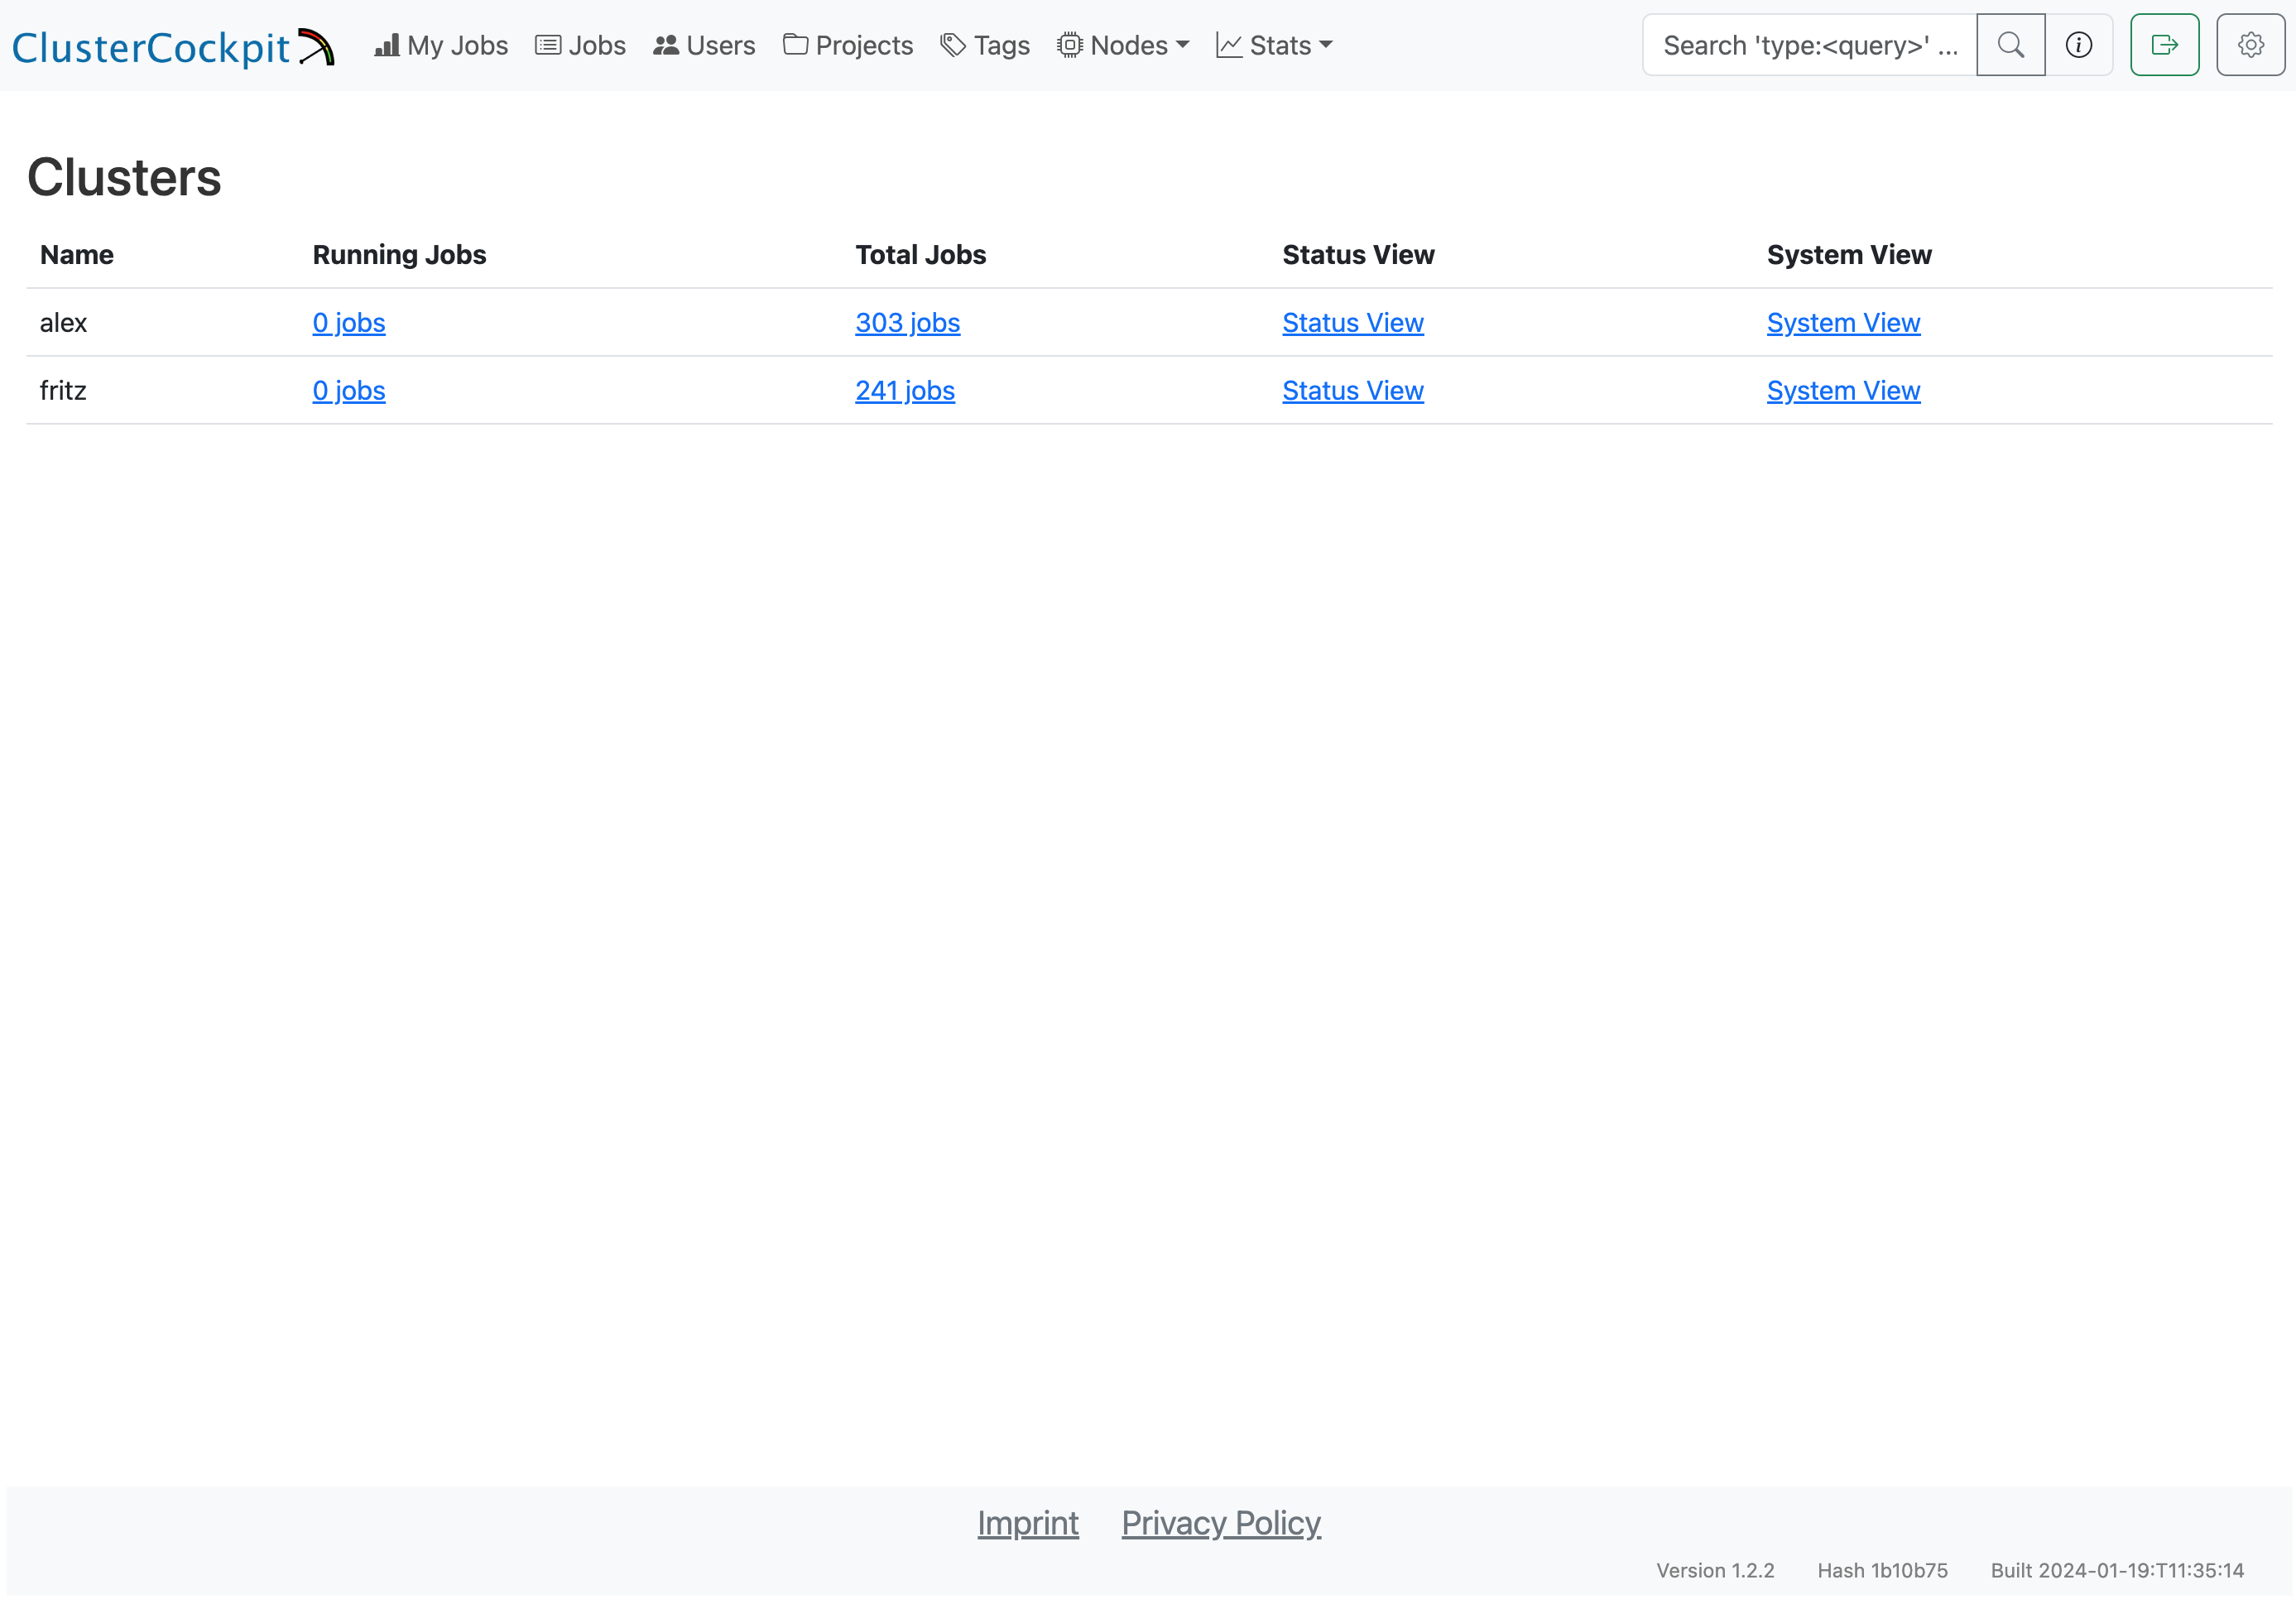
button. After that the ClusterCockpit index page should be displayed:
The demo user has the admin role and therefore can see all views.
Note
Because the demo only loads data from the job archive some views
as the status and systems view do not work!
For details about the features of the web interface have a look at the user guide.
Installation
We provide an installation manual to guide you
how to plan and configure a production ClusterCockpit deployment. If you are a
computing center and face problems do not hesitate to ask for help in our
communication channels.
1 - Demo with release binary
The demo setup with the release binary only works with a Linux system running on a x86-64 processor.
Grab the release binary at GitHub.
The following description assumes you perform all tasks from your home folder.
Extract the tar archive:
tar xzf cc-backend_Linux_x86_64.tar.gz
Create an empty folder and copy the binary cc-backend from the extracted archive folder to this folder:
mkdir ./demo
cp cc-backend ./demo
Change to the demo folder and run the following command to setup the required var
directory, initialize the sqlite database, config.json and .env files:
./cc-backend -init
The ./cc-backend -init command creates a config.json with sensible defaults.
The cluster configurations (fritz and alex) are embedded in the job archive
you will download below — no manual cluster configuration is needed in
config.json. The generated file should look similar to: